Creating Your Own Magical Gnome Village
Gnomes are small mythological creatures that have captivated people’s imaginations since ancient times. They can be found in various cultures around the world, each with their own unique characteristics and stories. These enchanting little beings have inspired countless tales of adventure, mystery, and magic. Today, many enthusiasts create magical gnome villages as part of their garden or yard decoration projects, bringing these whimsical figures to life while also adding charm and beauty to any outdoor space. This article will guide you through the process of creating your very own magical gnome village!
Step 1: Choosing a Location
The first step in creating a magical gnome village is selecting an ideal location within your garden or yard. Look for a spot where there is ample sunlight but also some shade from trees or shrubs. Make sure it isn’t too close to busy areas like walkways or playgrounds so that visitors won’t disturb your peaceful community of gnomes. Consider incorporating natural features such as rocks, mounds, or even miniature waterfalls into your chosen site – these elements will add depth and character to your gnome habitat.
Step 2: Building Materials
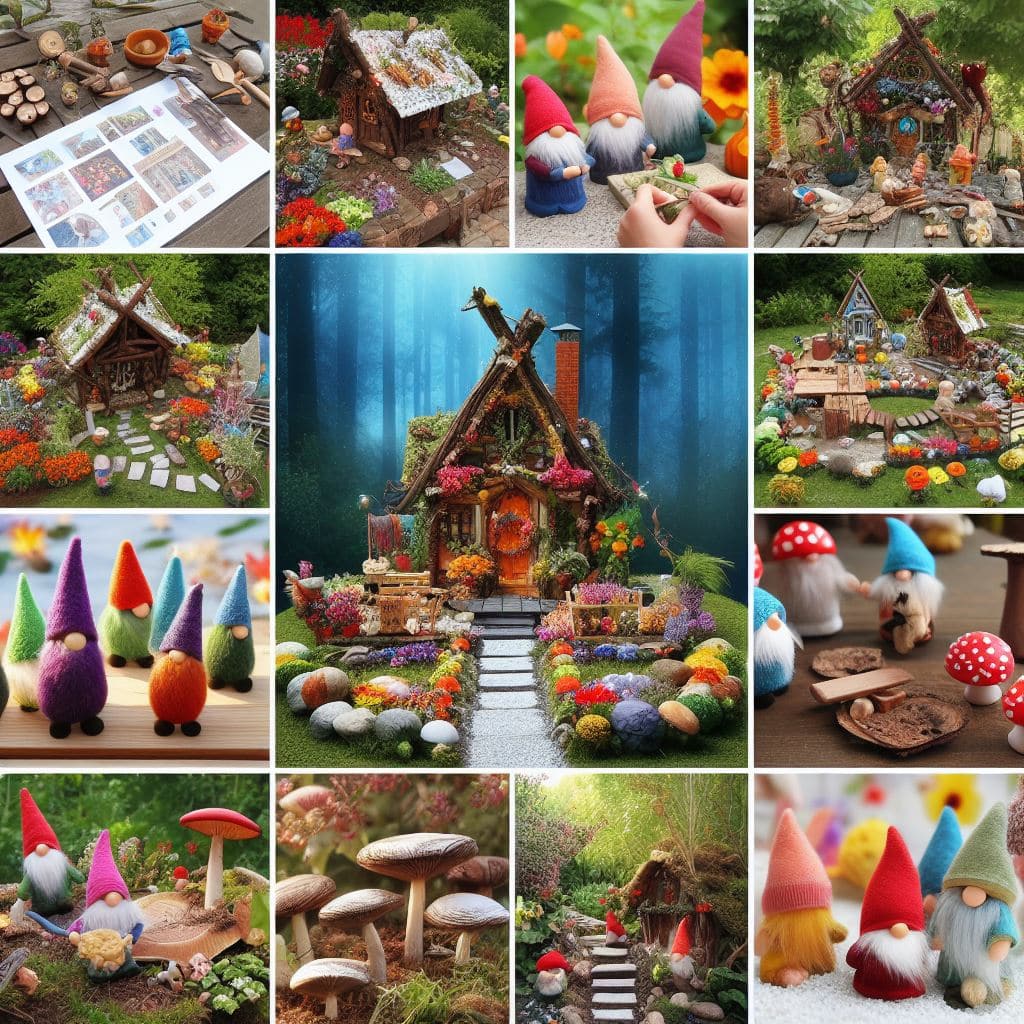
Once you’ve selected a suitable location, gather materials needed for constructing your gnome village infrastructure. You may want to use stones, twigs, branches, leaves, moss, or other organic materials found in nature. If desired, feel free to mix in synthetic components like resin figurines or painted wooden structures for added variety and personalization. Be creative with how you arrange these items; let your imagination run wild!
Step 3: Designing the Layout
Now comes the fun part – designing the layout of your magical gnome village! Think about what kind of homes would appeal to your little residents: cozy cottages made from twigs and moss? Or perhaps underground dwellings carved into hillsides? You could also include amenities such as gardens filled with flowers they love (like daisies), well-stocked kitchens equipped with tiny pots and pans, and even secret hideaways hidden among the foliage. Remember that every detail counts when crafting a truly enchanted environment!
Step 4: Adding Decorations
With your basic structure complete, it’s time to bring your gnome village alive with decorations. Incorporate colorful flags flying on miniature flagpoles, hanging lanterns made from acorn caps or empty eggshells, and tiny signs indicating businesses or services available within the village limits (such as blacksmithing). Don’t forget about adorable details like birdhouses perched upon tree limbs or tiny chairs placed around firepits – these little touches will make all the difference in transporting visitors into this magical realm.
Step 5: Placing Figurines
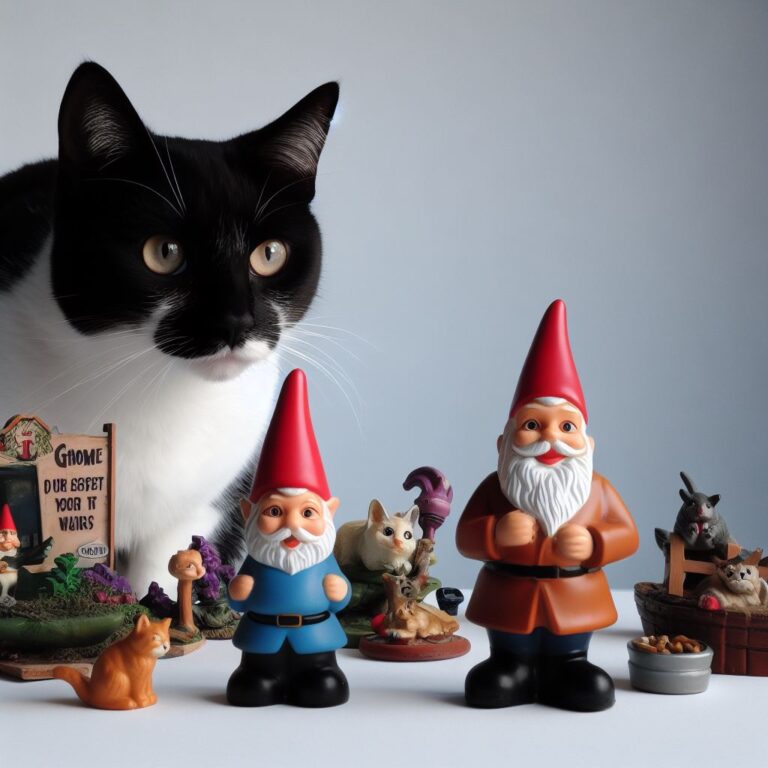
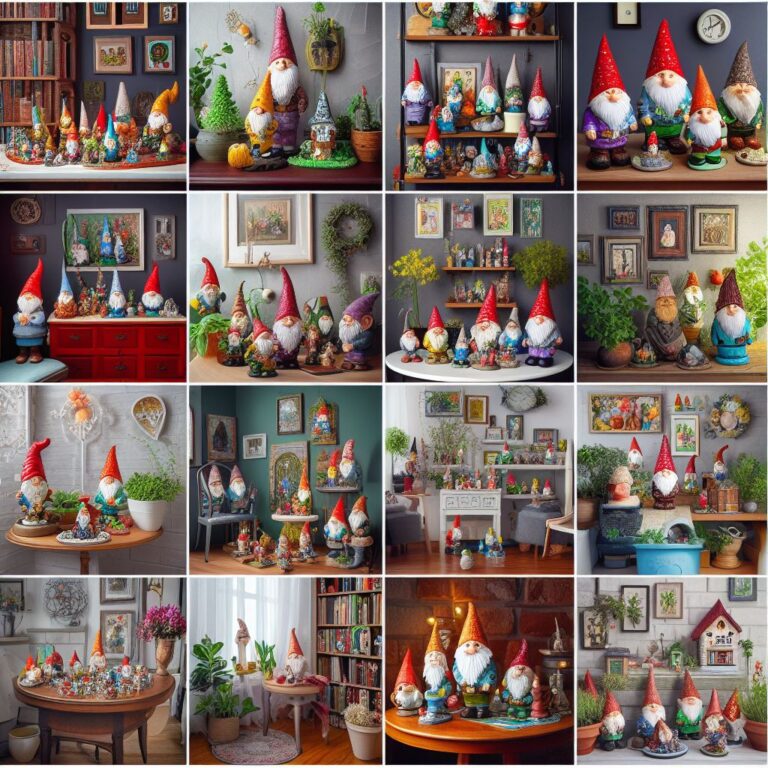
Finally, populate your newly created magical gnome village with delightful figurines! There are plenty of options available online or at specialty stores; choose ones that fit seamlessly into your overall theme and design concept. Whether they’re working together harmoniously in groups or going about their individual tasks throughout the day, these charming characters will breathe life into your enchanting creation.
Enjoy Your Creation!
And voila! With just five simple steps, you can transform your backyard into a magical gnome village that both adults and children alike will find irresistible. Spend hours exploring its wonders, watching the gnomes go about their daily lives, and getting lost amidst its whimsical charm. We hope our guide helps inspire you to embark on this joyous journey of creating your very own fantastical haven right in your own backyard!